|
Fill layers
|   |
A fill layer is a spot-color layer in which you paint a "fill color", so that the interior of a sketched object looks opaque.
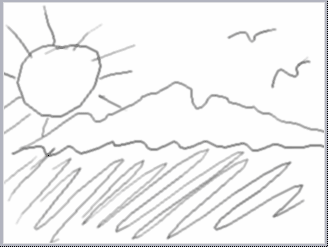
For example, let's say you have drawn a background image in a frame's Base layer, using the Pencil tool:
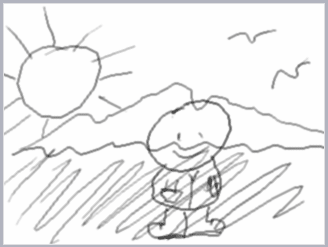
You want a character to walk into this frame. So, you create a new spot-color layer, and draw the character at his final resting point:
The Layers palette now looks like this:
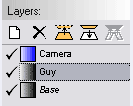
But you'd like this Guy's insides to be opaque, not transparent. You could do this by converting the Guy layer to Full-color and then filling in precisely inside the pencil outlines without erasing them. But it's easier if you put the "fill" on a separate layer, you don't have to worry about affecting the outline, and it's also easy to change the color later.
You'd also like the Fill layer to move with the outline layer, and the easiest way to do that is to nest them together.
The Layer > Make Fill Layer command is a quick way to set up such a layer. After you run it, the layer palette looks like this:
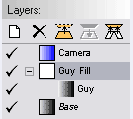
The Guy Fill layer has been created, and the Guy layer is nested under it. This is the easiest way to arrange layers.
The Make Fill Layer command also tries to fill in the fill layer automatically. In the example, the story frame now looks like this:
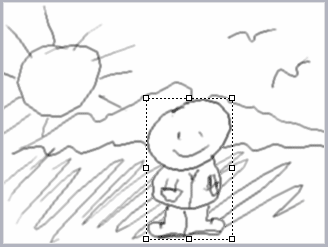
It has filled the Guy Fill layer with white inside the boundaries of all closed areas in the Guy layer.
If Make Fill Layer doesn't fill the way you want, you can tweak the results in several ways:
When the fill is the way you want it, you can select the Move Layer tool and drag the Guy Fill Layer to a new position:
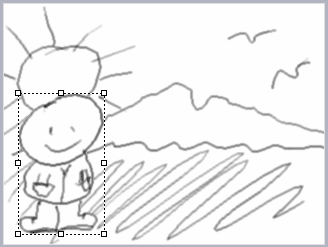
And you can now easily go on to record an animation of the character walking into the shot.
Tips for drawing objects that can be automatically filled
If you want to use the auto-fill feature, but it's not finding the edges of your drawings well, try these tips: